Image Comparison Feature
In this guide we will walk through on how to setup and add the image comparison feature to a customer’s website. There are going to be three basic components in the outline below. We will walk through each step and what is needed/required and also be practices with presence.
JavaScript
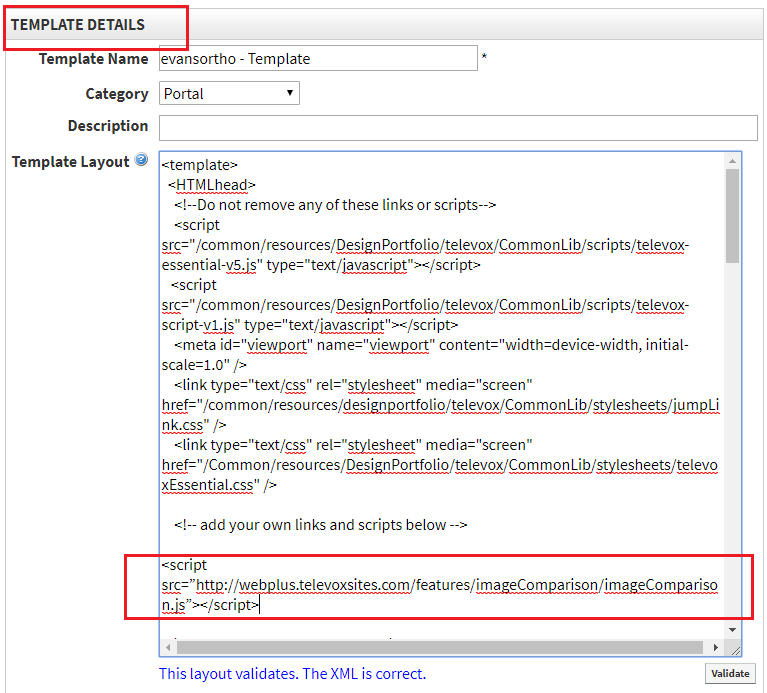
JavaScript file is going to be our first stop on the guide. The script has been provided below:
<script src=”http://webplus.televoxsites.com/features/imageComparison/imageComparison.js”></script>
Copy this script and paste it in the template head of your site.
CSS
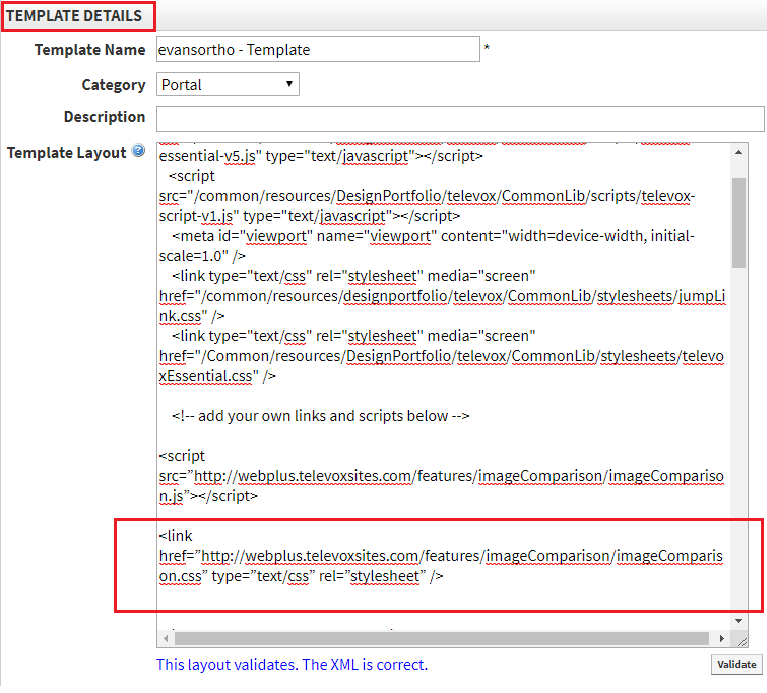
Linking the CSS file will be step 2. Much like the first one, you will again link this in the template head. The CSS link is below:
<link href=”http://webplus.televoxsites.com/features/imageComparison/imageComparison.css” type=”text/css” rel=”stylesheet” />
Copy this link and paste it in the template head of your site.
Html
Html is where a lot of the work for this feature will come into play. It is very important to make sure you do not missing a closing bracket/div. **The feature as a whole is wrapped in a class called “imageComparison” this class is what applies the css to the below.
A global portlet has been added to presence. This will allow for easier importing of the feature. Once you have it add you will be able to update and edit your local copy of it with your images.
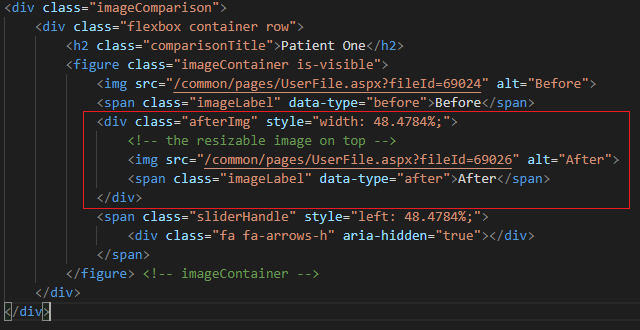
Below is a sample markup:
<div class="imageComparison">
<div class="flexbox container row">
<h2 class="comparisonTitle">Patient One</h2>
<figure class="imageContainer is-visible">
<img src="/common/pages/UserFile.aspx?fileId=69024" alt="Before">
<span class="imageLabel" data-type="before">Before</span>
<div class="afterImg" style="width: 48.4784%;">
<!-- the resizable image on top -->
<img src="/common/pages/UserFile.aspx?fileId=69026" alt="After">
<span class="imageLabel" data-type="after">After</span>
</div>
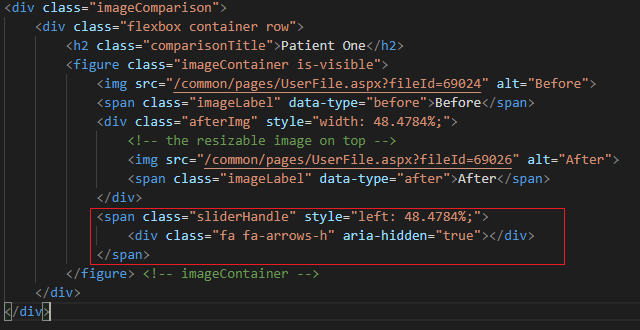
<span class="sliderHandle" style="left: 48.4784%;">
<div class="fa fa-arrows-h" aria-hidden="true"></div>
</span>
</figure> <!-- imageContainer -->
</div>
</div>
Description
As you look at the markup for the feature keep in mind there are several elements used.
- imageComparison
- Used to wrap the feature together and used for all styles to be applied
- Flexbox container row
- These are also used to format position and styles of the container and its children
- H2
- This field is optional. It can be used to split images into groups if need
- Patient One, Patient Two, etc.
- Class II Excess Overjet, UnderBite, CrossBite, etc.
- Figure
- This field is required, each set of before and after should be wrapped inside of a figure with the class imageContainer.
- Before Section of figure
- This field is required, on the before section of figure. There is no div wrapper. It is simply your img and a span.
- After Section of figure
- This field is required, on the after section of the figure. This will be wrapped in a div with a class of afterImg.
- Span Slider
- This field is required, outside of the after div, you will add the following span. This is used for the slider bar on the feature.
How to add more images.
Adding more images to a feature is simply a matter of coping the previous figure. Once you have it copied, you will paste it below the previous figure.
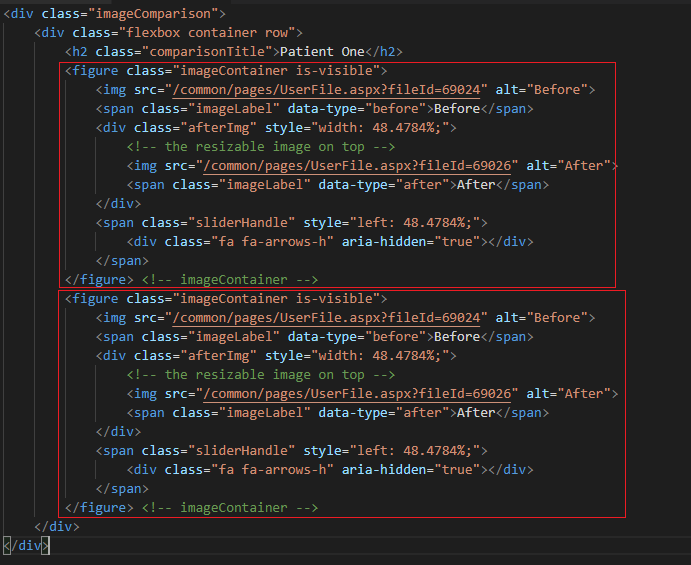
Once you have it copied and formatted correctly, you can just change out the images used. You are all set.